Welcome to Aimbase University
Class is in Session: Managing Dealer Data in Aimbase

Hosted by: Andrea Pourcillie, Director of Client Success
Watch the Session
Creating Dealers
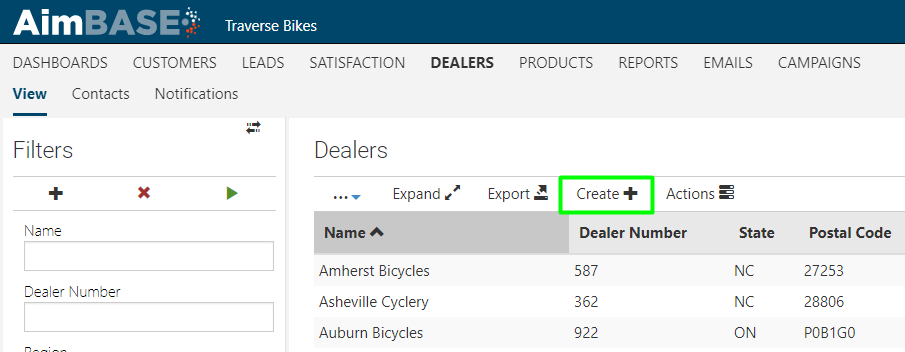
1. Navigate to the dealer grid by clicking Dealers in the main navigation. Click Create+ from the grid.
2. Fill in the fields on the dealer creation page.
a. Name: This is the name of the dealer. Often this is the name on the dealer's contract with your brand. If dealers have a DBA, be aware that whatever you put in this field could be viewed/exposed via the dealer locator on your website or on customer-facing emails. Ensure this value is customer friendly.
b. Manufacturer Dealer Number: This number may also be a value pulled from your dealer contacts. Keep in mind it doesn't have to be a numeric value. It can also contain alphanumeric characters.
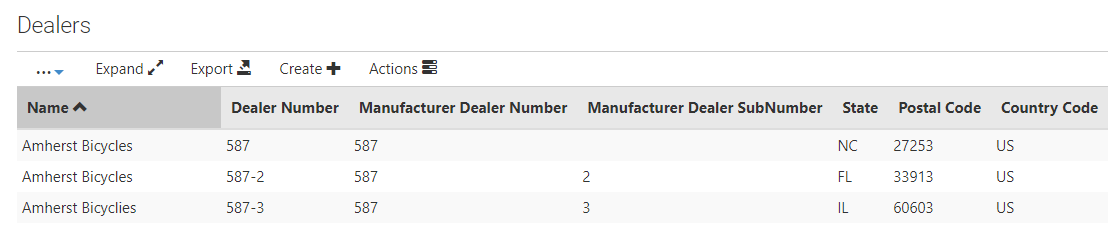
c. Manufacturer Dealer SubNumber: This value is used to identify dealers within a group that may use the same Manufacturer Dealer Number. For example, if you have a dealer group with 3 locations that all have the same dealer number value on your internal contracts you may choose to set them up as below:
d. Dealer Type: Unless you're creating a dealer record for a corporate location, you'll choose Standard Dealer here. If you see other options within the dropdown besides Default and Standard, consider reaching out to your Rollick representative if you are unsure which dealer type to choose.
e. Active for: Within this dropdown are four options. Select one.
- 'Both' indicates that the dealer will be associated to both leads and registrations (assuming you are utilizing Aimbase for lead routing and owner satisfaction/closed sales).
- 'Neither' indicates that the dealer will not be associated to either leads or registrations. This should only be used for dealers who no longer sell your projects and do not have any outstanding warranties to register.
- 'Owners Only' indicates that the dealer will no longer receive leads but may still have warranties to register.
- 'Sales Only' indicates that the dealer should automatically be associated to leads but will not be registering warranties.
f. Address data: Here you muse enter the physical address for your dealer. Be sure not to enter a PO Box value within the Address 1 field. This field is utilized to calculate a latitude and longitude value which is used for lead routing purposes.
g. Brands: There may be one or more values within this field. The data here is meant to indicate which brand(s) a dealer sells. Only select the brands from the dropdown for which the dealer is contracted to sell products.
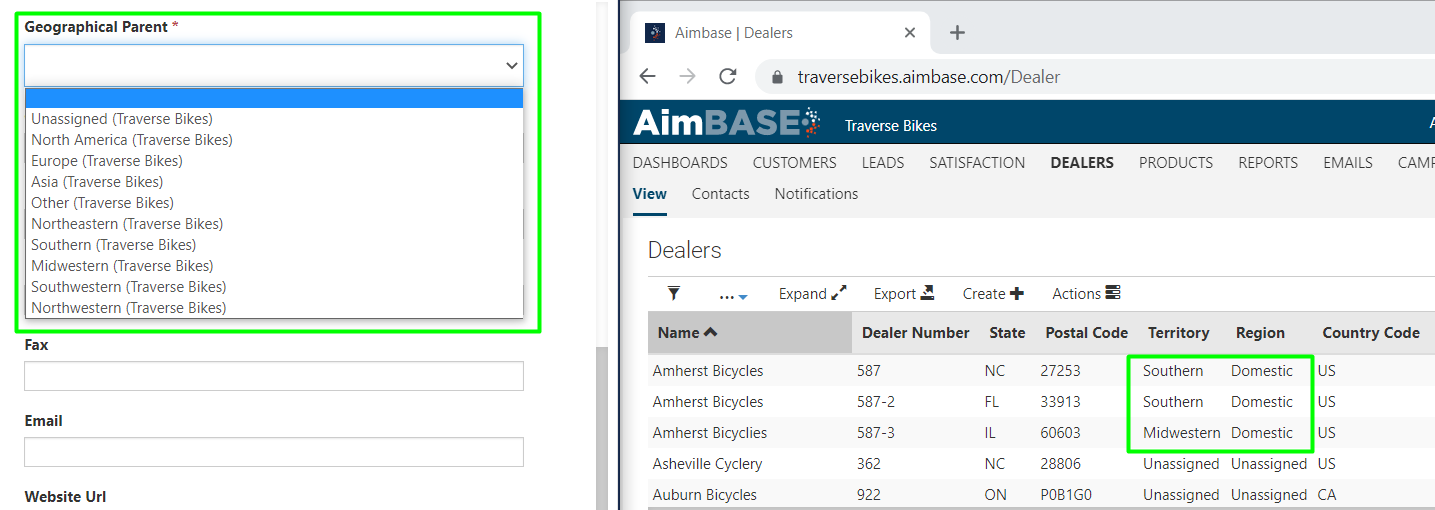
h. Geographical Parent: This field is used to associate the dealer to your internal regional sales manager structure. This field aligns the dealer to your hierarchy of sales managers. Though you only make one selection from the dropdown, this one field populates the Territory and Region columns on the dealer grid. You select the territory from the dropdown, and the territory, which is a child in the hierarchy, dictates the region. This field allows you to limit the notifications your sales team receives to only pertain to the dealers with which they work.
i. Contact: This field holds the name of the primary contact at the dealership. This field is not used to determine whom within the dealership should receive notifications. It is only used as a reference field should it need to be provided in such places as a dealer locator or a consumer email.
j. Phone: This field holds the phone number for the dealership. It is used as a reference field should it need to be provided in such places as a dealer locator or a consumer email.
k. Fax: This field holds the fax number for the dealership. It is used as a reference field should it need to be provided in such places as a dealer locator or a consumer email.
l. Email: This field holds the email address for the dealership. This field is not used to determine whom within the dealership should receive notifications. It is only used as a reference field should it need to be provided in such places as a dealer locator or a consumer email.
m. Website URL: This field holds the website URL for the dealership. It is used as a reference field should it need to be provided in such places as a dealer locator or a consumer email.
n. Active: The Active field works in tandem with the Active for field. Where the Active for field provides context for the type of data the dealer should be associated with, the Active field is more like a master switch. Regardless of what was selected within the Active for field, if the Active field is No, there will be no data associations made for that dealer.
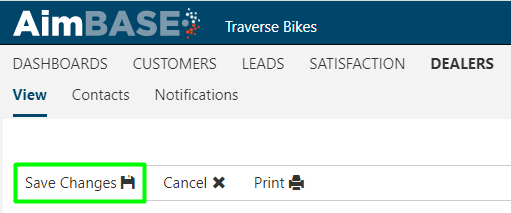
3. Click Save Changes.
Creating Dealer Contacts
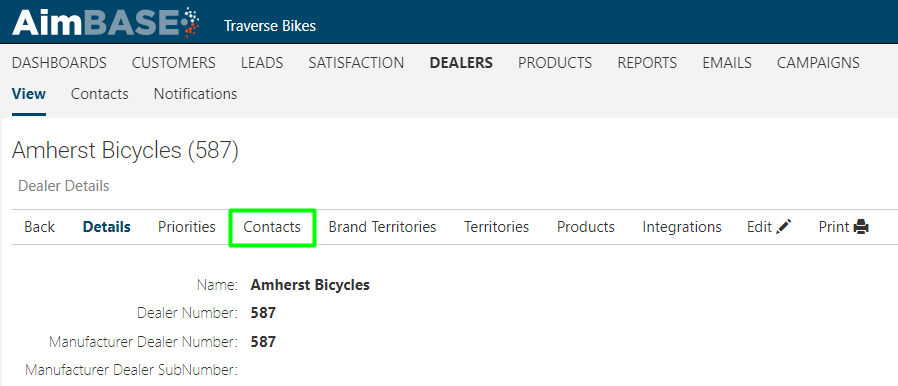
1. Once the dealer has been created or on an existing dealer, click Contacts.
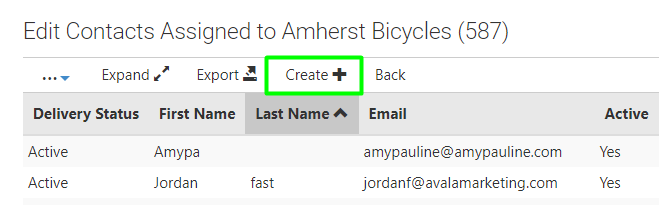
2. Click Create+.
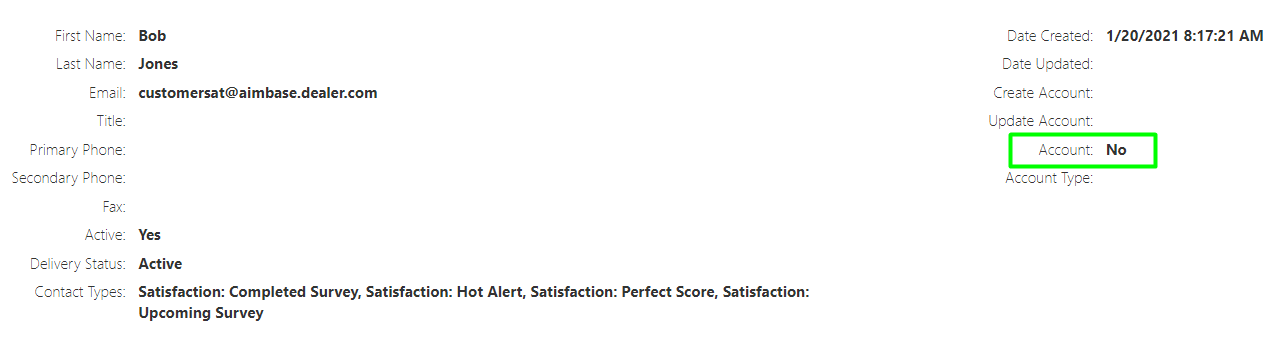
3. Once on the create page, enter in the key details for the contact.
a. Email: The email address you to which you wish for the notification to be delivered. Do not use an email distribution list here as they do not accurately capture the click activity needed for reporting metrics properly.
b. Active: Select Yes for contacts that you wish to be eligible to receive notifications.
c. Contact Types: Though the field is not required, a selection from this field is necessary for the contact to automatically receive notifications. The selection(s) you make dictate the notification they get.
4. Click Save Changes.
Assigning Dealer Areas of Responsibilities
For more information and background on dealer territories, read the full article here.
1. From the dealer detail page, click on either Territories or Brand territories.
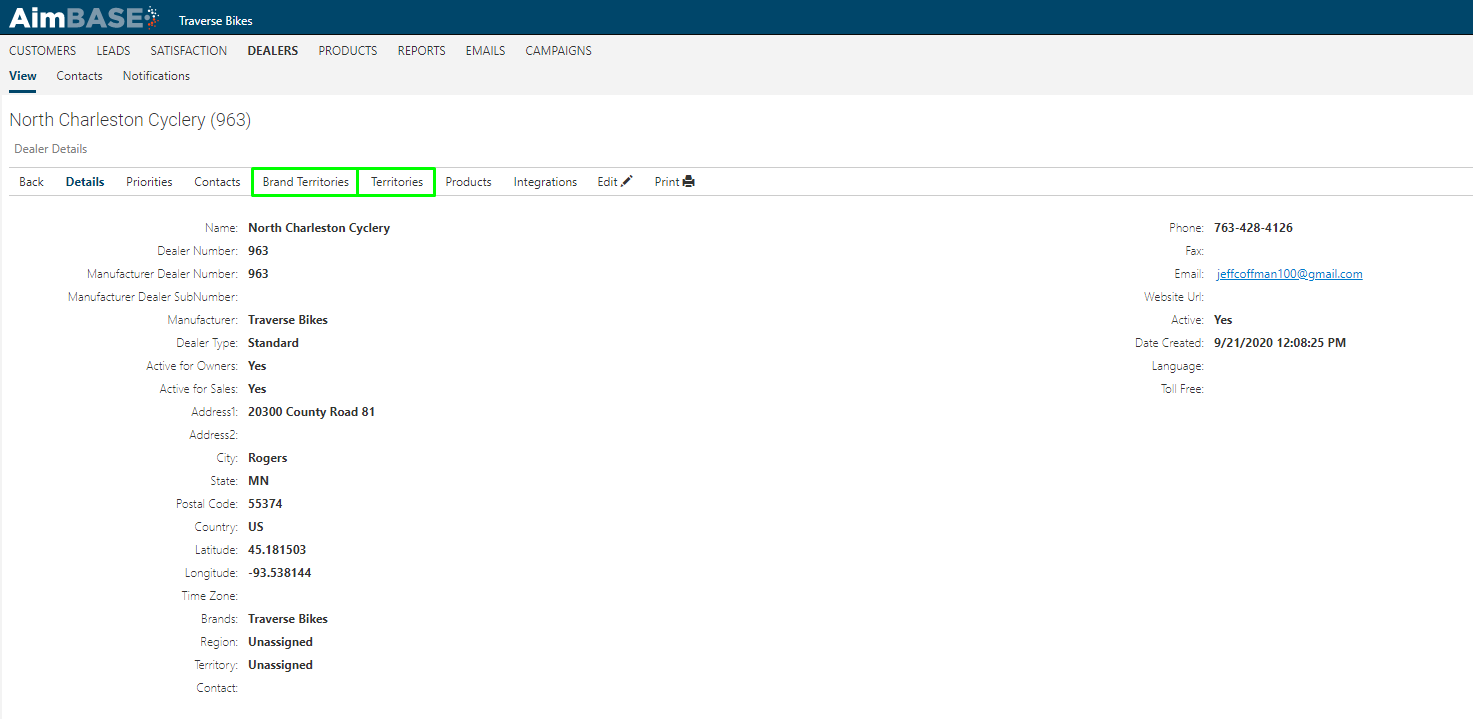
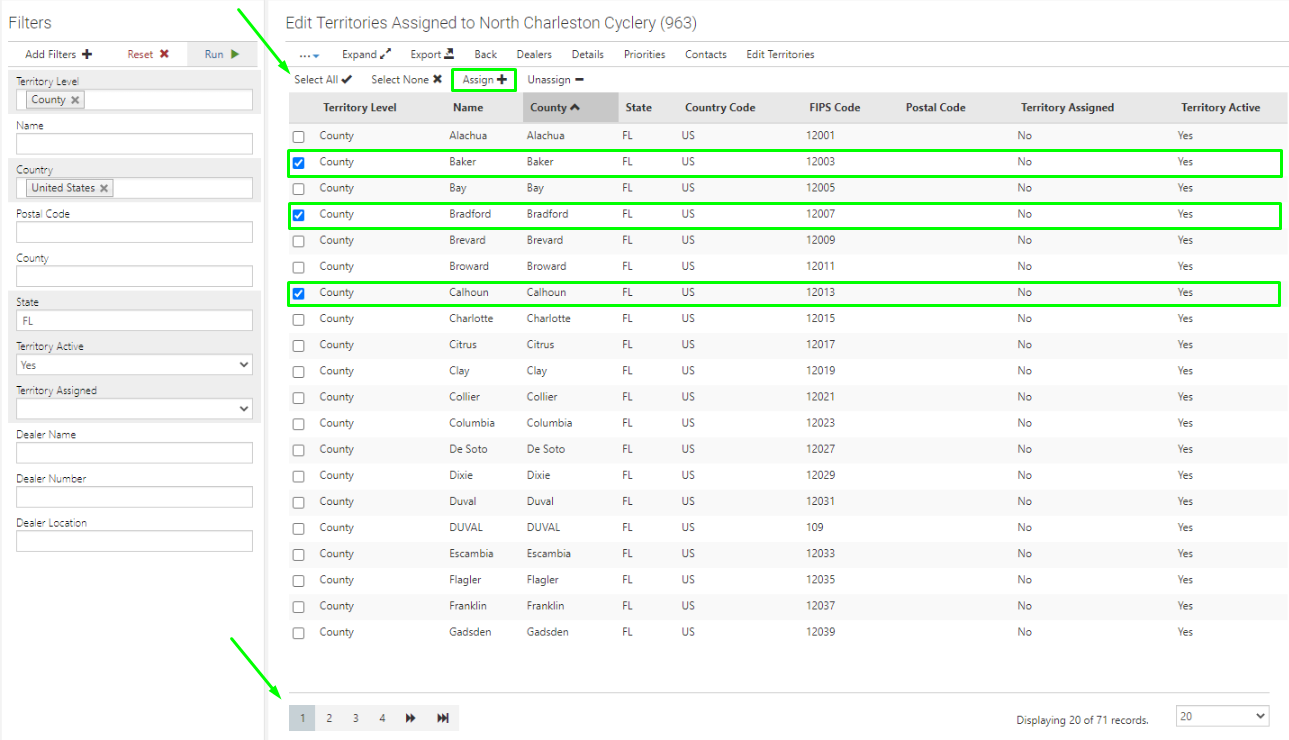
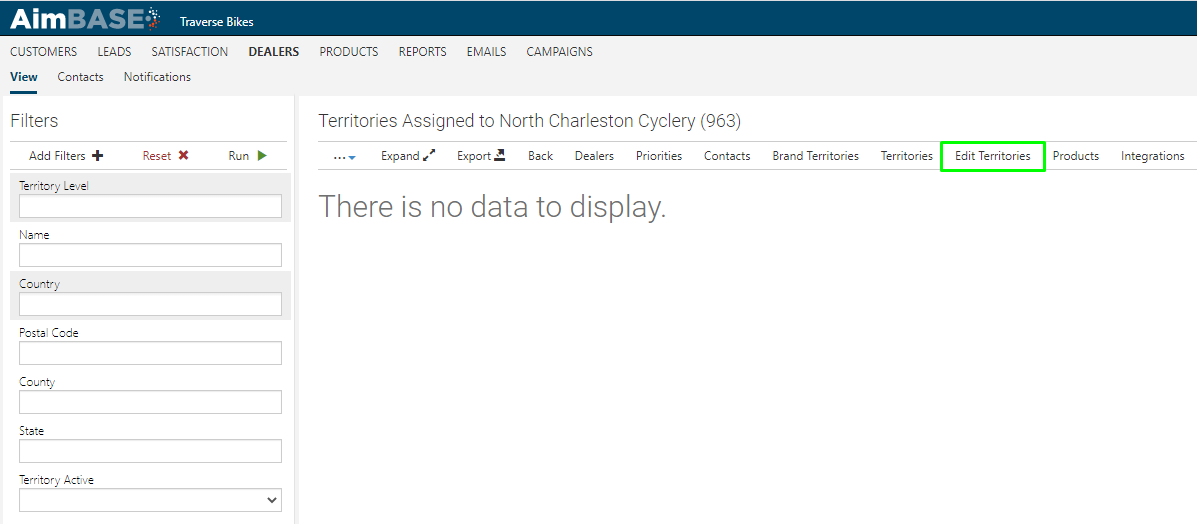
2. Once you've clicked into the Territories for the dealer, you'll see whichever geographic areas have already been assigned. If the dealer is new, you may see a message that says "There is no data to display." Locate the Edit button to begin making changes.
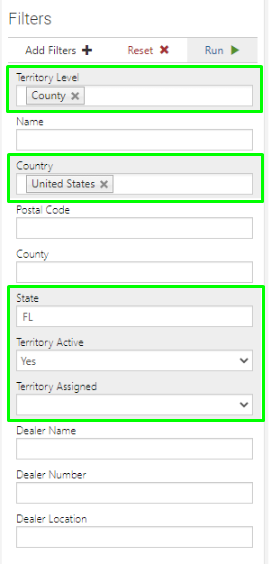
3. Set your filters to align with what you'd like to assign to the dealer and click Run.
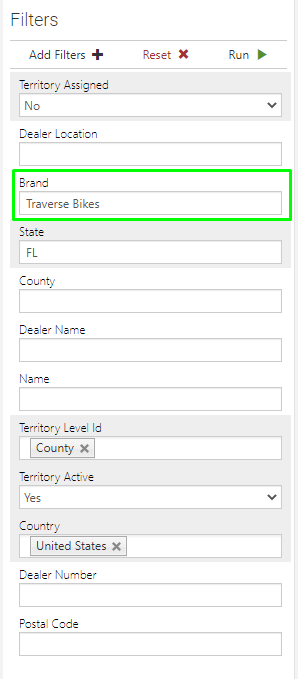
If you're using Brand Territories, there are just a couple of tweaks to this process. In addition to the filters above, you'll want to indicate the brand for which you are assigning the territories.
4. Make your selections from the list returned by your search.
Note, you can select individual rows by clicking the corresponding box or click the Select All button towards the top of the list. Once you've made your selections, click Assign.