Summary
In this article you'll learn about how to build an email with the simple editor, which is a drag and drop design tool within Aimbase. In addition to building the initial email you'll find instructions about other tracking capabilities that are best practice for reporting effectiveness of the email once it's sent and testing ahead of your campaign email send.
Using the Simple Editor
Building an email is easy using our template that we set up in this step. If you do not have a template, you can also start from scratch.
Build Email
Navigate to Emails > View. Then hit Create+.
A box will pop up, asking you which you want to start from. If you want to start with a blank slate, choose Blank Simple Designer. If you want to start from a template you created, choose the template from the dropdown. If you are an HTML master, you can also create an email using code if you select Blank HTML (Advanced).
Regardless of which type you choose from the dropdown, you will need to fill out the email’s properties.
Code: A unique code to reference the email for API calls.
Name: The name of the email, and how your email will be referred to throughout and after the send process. Be sure to make this something that makes sense and is relevant to the content/usage of the email. This value will be displayed on the prospect's timeline if/when it is sent to an existing prospect.
Preview Text: This line displays under the subject line in the recipient’s inbox. You can use something like the first line of your email, the most powerful line, or a sneak preview of what’s in the email. A better preview text often is correlated with a better open rate! It is important to keep this short. Some email providers show as little as 35 characters, so grab their attention quickly! We recommend staying around 80 characters for the preview text.
Default Sender Profile: This is a dropdown of the sender profiles that are available, which is who the email comes from. If you do not see the sender profile you'd like to use, read about how to create a new sender profile here.
Active: Your email should be set to active in order to send.
Email Type: To send to a group of people, your email should be the type of Campaign.
Email Status: Your email status should be Live. The other statuses will not send your email to the lists you select.
Now, you are free to make any edits to the email that you would like! Remember to insert the Unsubscribe link and the Sender Profile Address. If you do not have these two required components, our system will warn you before you publish the email.
Insert View as Webpage
The view as webpage link is important to include because if an email doesn't display correctly, this gives the subscriber an option to view the email in his/her web browser.
We suggest adding this at the template level, but you can also add it at the email level using the same steps.
Insert View as Webpage
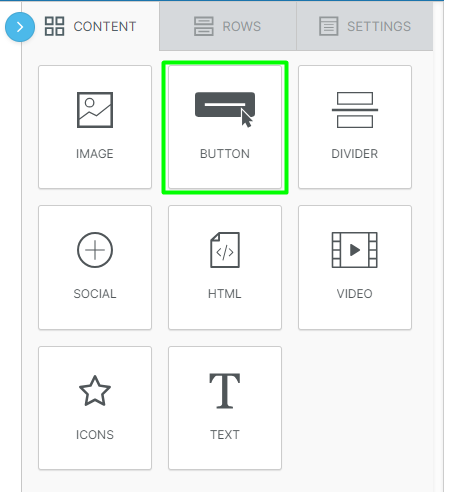
- Place a text box where you want the webpage link.
- Use the toolbar to navigate to Special links > Frequently Used > View as Webpage.
- Then, you can format the link to look however you would like from here.
Insert Unsubscribe Link
Unsubscribe is a required part of each email. This gives a subscriber a chance to “opt-out”. We suggest you add unsubscribe to the template level.
Insert Unsubscribe
- Place a text box where you want the unsubscribe link.
- Use the toolbar to navigate to Special links > Frequently Used > Unsubscribe (Default)
- Highlight the underlined text and click the Link icon in the editor tool to format as desired.
Insert Physical Mailing Address
By law, it is required to include a physical mailing address on each email that sends. When you set up your sender profile, you included an address. This is the default mailing address that is used during the email send process. Here, we will learn how to add the correct attributes to pull that mailing address in.
We suggest adding this at the template level, but you can also follow the same steps at the email level as well.
Insert Physical Mailing Address
To insert the mailing address, you will need to follow the steps below:
- Use the toolbar to navigate to More > Attributes
- Select SenderAddress1
- Repeat the steps for SenderAddress2, SenderCity, SenderState, SenderPostalCode, and SenderCountryCode.
- Format as desired.
Title and Track Your Links
Once you've built your email, click into the Link tab at the top of the builder.
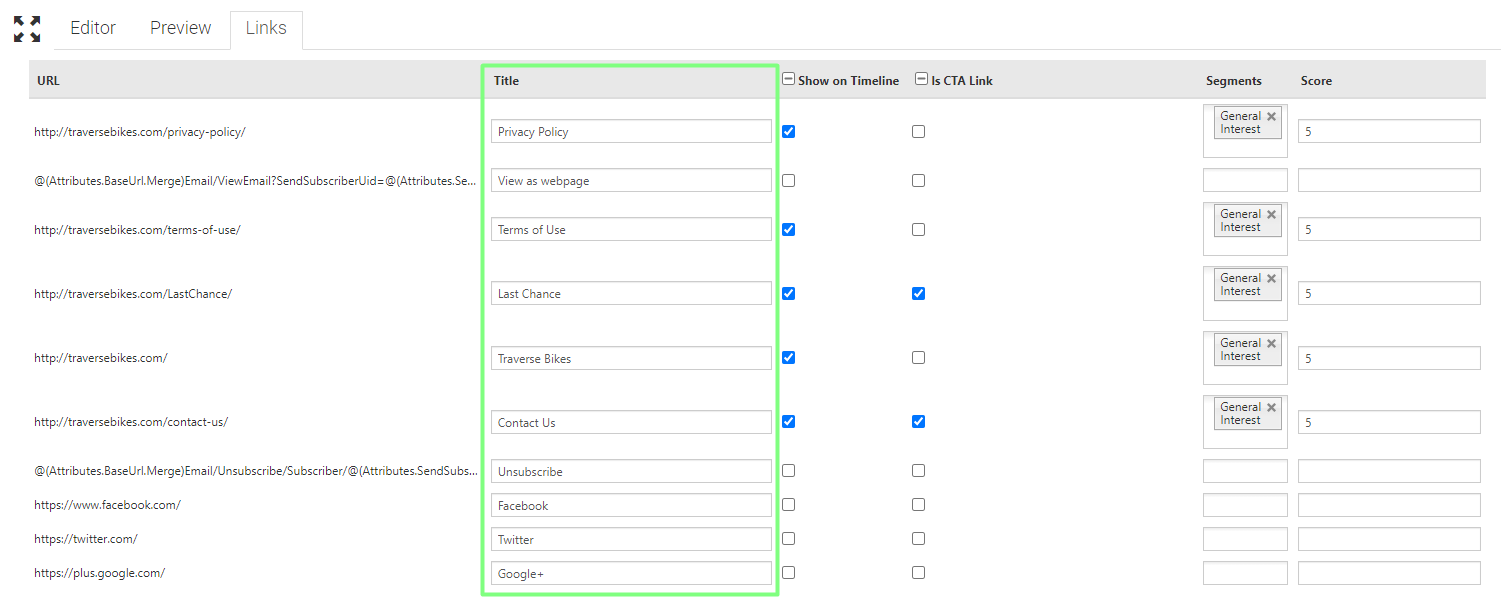
Link titles on emails are necessary to populate various modules on the Power BI Email reports. They are also used to note to users within Aimbase which link was clicked in the email on the prospect timeline. For the link to appear on the prospect timeline, the link must also be "Tracked". More on that below.
Link Title Best Practices
- Ensure every link has a title, even Unsubscribe and View as Webpage.
- Link titles should be concise and indicate to an Aimbase user which third party location or brand webpage a recipient navigated to when clicking the link.
- Ensure links that are repeated across multiple emails have the same title across all emails. Ex. View as Webpage is written as such for the link title across ALL emails.
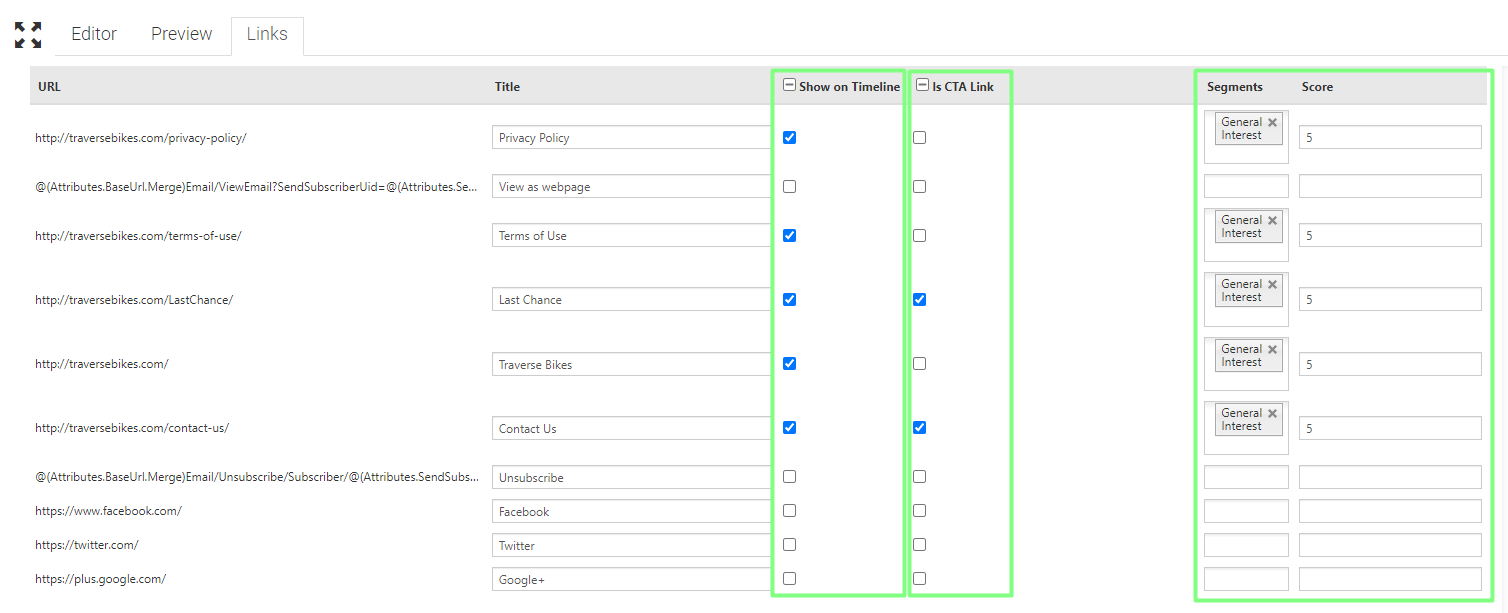
Tracking a link within an email allows users to see when a respective link was clicked on the prospect's timeline. Whether or not a link is considered to be a CTA is utilized in email reports.
Link Tracking Best Practices
- At a minimum, it is best to check the Tracked checkbox on all links going back to your brand's website or any link that would indicate some level of purchase interest to a dealer.
- The CTA checkbox should be used when it is meant to compel the user to do more than just read something. The point of a CTA is to drive consumers to action. The button associated to the link should be visible, eye-catching, and hard to ignore. Depending upon the purpose of the email, it is possible for there to be no CTAs present (ex: driving the recipients to a YouTube channel for a brand newsletter).
- Anytime HIT is in use, put all links indicating engagement with the brand into the appropriate segment and give it a score of 5.
Be sure to republish your changes from this tab.
Test Email
When you are done editing your email, you may send a test version to yourself to ensure all the links work and your email looks like you want it to when it sends.
Send a Test Send
To test your email, simply click into the Preview tab of your email. You do need to have all the properties and the subject line filled out before you generate a preview and test!
On the right side of the preview, all of your attributes show that you have entered into your email. If you used something dynamic, such as First Name, you can fill it out here to see how it would fill out from your list. Keep in mind that all of the lists you select when sending your email should have these attributes in them.
If you want to test the Unsubscribe link, you will need to fill out the BaseURL to be exactly as Aimbase fills it out. For Traverse, it would be: https://traversebikes.aimbase.com/. Keep in mind, in your test, link will not format correctly if you miss the last “/” or the https:// before the URL. You will simply replace traversebikes with your install’s subdomain.
Aimbase will also fill out the SendSubscriberUid for each send. It is best to leave this attribute blank.
When you are happy with your attributes, click “Send Test”. Enter the email address that you would like to send your test to and click “Ok”. The test email will send immediately.
Don't see your email?
It can take up to 2 minutes to receive your test. If you still haven’t gotten it within that time, be sure to check your spam and junk folders!
FAQ's
What is the Simple Editor and what is it used for?
The Simple Editor is a drag‑and‑drop email design tool within Aimbase. It allows users to build campaign emails either from existing templates or from a blank layout without needing to write code.
Can I create an email from scratch?
Yes. You can start from a blank design by choosing Blank Simple Designer, or you can create an email using custom code by selecting Blank HTML (Advanced). You may also choose from saved templates.
Are there browser requirements for the Simple Editor?
Yes. The Simple Editor is powered by the Beefree plugin, which does not fully support Internet Explorer. Only IE 11 is supported for the life of Windows 7, 8.1, and 10. Chrome, Firefox, Edge, and Safari are supported. Users on Internet Explorer may be prompted to switch to Microsoft Edge.
What email properties must be completed before sending a campaign email?
You must complete the email code, name, preview text, default sender profile, and subject line. The email must also be set to Active, have an Email Type of Campaign, and an Email Status of Live in order to send.
What is preview text and why is it important?
Preview text appears under the subject line in a recipient’s inbox. It helps encourage email opens and should be kept short. Some inboxes display as few as 35 characters, and around 80 characters is recommended.
Is an unsubscribe link required?
Yes. Every email is required to include an unsubscribe link so recipients can opt out. If it is missing, the system will warn you before publishing the email.
Why do I need to include a physical mailing address?
Including a physical mailing address is required by law. The address comes from your sender profile and must be added using specific address attributes such as street, city, state, postal code, and country.
What does “View as Webpage” do?
The “View as Webpage” link allows recipients to open the email in a web browser if it does not display correctly in their email client. It can be added at either the template or email level.
Why are link titles important?
Link titles are required for reporting and tracking. They populate Power BI email reports and identify which links were clicked on a prospect’s timeline. Every link, including unsubscribe and view‑as‑webpage links, should have a title.
What is link tracking?
Link tracking records when a recipient clicks a link and displays that activity on the prospect timeline. Tracked links are also used in email reporting to measure engagement.
What is a CTA link?
A CTA (call‑to‑action) link is meant to prompt the user to take action. CTA links should be clearly visible and compelling. Not every email is required to include CTAs, depending on the goal of the email.
Why should I send a test email?
Sending a test email allows you to confirm that links work correctly, attributes populate as expected, and the email displays properly before sending it to a full list.
What is required before I can send a test email?
All email properties and the subject line must be filled out before generating a preview or sending a test email.
Why might my test email not appear immediately?
Test emails may take up to two minutes to arrive. If you do not see the email, you should check your spam or junk folders.
How should I test emails with custom fields?
If your email uses custom fields, it is recommended to create a test subscriber list that mirrors the data of your real audience. Sending a test to this smaller list helps ensure the custom data passes through correctly.